From Worst to Great

A few weeks ago I wrote about the WORST quilt ever! I recently got an email, with photos, from Charlotte in NH, about a t-shirt quilt she had made. Charlotte’s t-shirt quilt is one of THE BEST t-shirt quilts I have ever seen!

With her permission, I am posting her photos and her story about the quilt.

Click on any photo for a larger view.

Car t shirt 2


This all started when my husband was deployed to Kuwait. Somehow, Jim (co-worker) saw my Picasa album of my finished quilts. He said to John (husband), do you think there is a way to incorporate my collection of t-shirts into a quilt? John said – oh sure. John volunteered my services free of charge. I had never made a t-shirt quilt before but knew I could do it. Jim left Kuwait in May of 2013. Mid June I got a box with 15 t-shirts from Jim. These t-shirts commemorated road races that he participated in. He wanted someway to display and pass on his collection of t-shirts to his family.

Car t shirt 1

Because this is likely to be passed on for generations, I wanted a unique design. I took pictures of all the shirts and brought them into EQ7 to start the design process. When I spoke with Jim, he said that he wanted something like a ‘spoke’ with emphasis on the first race. The center medallion represents his first race then from upper left clockwise the others are positioned around the quilt.

Car t shirt 3

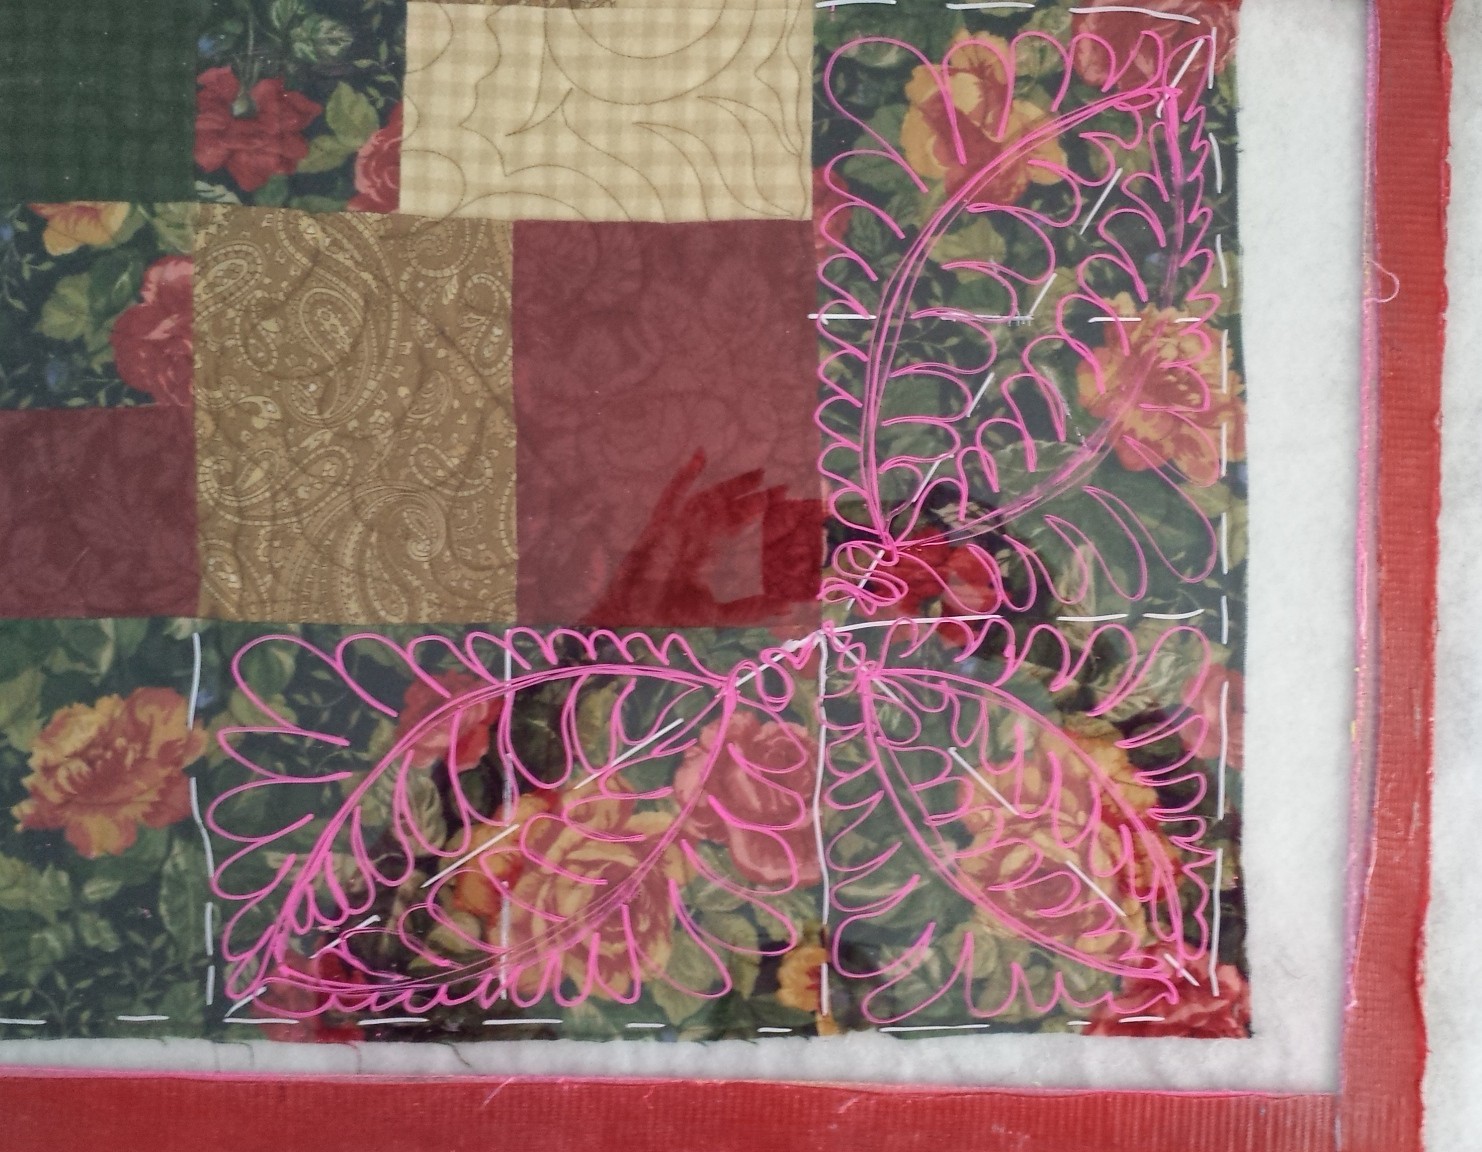
The backing of stars was chosen by John. He wanted something patriotic since both work for the Dept. of Defense. I quilted it on my HandiQuilter Fusion with ProStitcher using Quilter’s Dream Select Poly and Anne Bright’s design – Vanilla Cream. This is a big quilt – 100 x 110. I am very pleased with the finished product; I hope Jim is as well. The quilt was sent to him and he should be receiving it soon.  My charity of choice is Quilts of Valor. 

Cindy’s Comments – This is a beautiful quilt and you did an EXCELLENT job! I know he will be proud of the quilt.

Feel free to leave comments about this quilt. I will make sure Charlotte sees them.

Bad Quilt – Done!

My customer came and picked up her quilt yesterday. I think she was impressed with it but not overwhelmed by the quilting. She did say it turned out better than she thought it would. I think she was relieved that the quilt was done. Her daughter, who the quilt was for, came also and she liked the quilt!

I have had some emails about wanting to know how I worked on the quilt step by step. So, here is what I did –

I realized that nothing was straight on the quilt and, with no backing on the t-shirts, there would be a TON of stretching of the fabrics, so putting the quilt on my machine (Gammill Classic Plus) in my usual way would not work.

I took the quilt, backing and batting, to my daughter’s house and laid the whole quilt out flat on her front room floor and pin basted the quilt togehter. Fortunately, the backing fabric was relatively straight along the top and bottom edges.

Before I pin basted the quilt, I took some photos – this is the wrong side of the quilt top. (click on the photo for a larger view) Note the seam allowances and the hems on the t-shirts!

B-Tshirt-01

My daughter (who is six months pregnant) helped me position the quilt top on the batting and backing, but I got on my hands and knees and pinned basted the pieces together. (Thank you modern medical science and my orthopedic surgeon for hip replacements.)

Here is a photo of the quilt after pin basting.

B-Tshirt-02

When I put the quilt on my machine, I pinned the top and bottom of the backing fabric to the appropriate rollers and then rolled the quilt onto the backing roller.

The quilt top was so heavy and so stretchy that I couldn’t even float the quilt top.

When the quilt was on the machine and rolled up on the backing roller, it was so thick that the safety pins kept getting caught in my vertical channel lock. I had to put painters tape over the channel lock to keep it from catching on the pins. After I did a couple of  “roll ups” the pins didn’t catch anymore.

I was able to stitch a horizontal channel lock line across the top of the quilt, dragging my thread across the thick seams. When I did the stitching, I had to start and stop in each block and I changed thread to match the fabric. I did a medium to larger stipple – that was about all I could do in the space available.

I worked my way to the bottom of the quilt and did another horizontal channel lock line at the bottom. I had at least a straight line at the top and bottom of the quilt.

I took the quilt off the machine, turned it (I did NOT trim it yet) and then re-pinned it to the machine. I then did a horizontal channel lock line at the (new) top and (new) bottom. These channel lock lines gave me a pretty accurate trimming line on all four sizes.

Now I had to work on the binding. At this point the quilt was starting to look almost good! (I have photos on the previous post.) For the binding, I decided to make a 2 inch binding, which would act like a border for the quilt. I used a marbled black fabric and applied the binding with my home sewing machine.  Once the binding was on, the quilt was finished!

Here is a photo of the finished quilt.

B-Tshirt-10

The quilt was so big and heavy I couldn’t put it on my clothesline, I had to lay it on the ground!

To reward myself I got a Grande Mocha Frappachino at Starbucks and quilted an American Hero Quilt!

With all the challenges this quilt presented, I am glad that I did it. I know that this quilt will be loved and used for a long time.

Thank you for everyone who sent their stories of their worst quilts, I enjoyed reading them and knowing that I was not alone.

If you are a new quilter, just starting out on your professional machine quilting journey, this is not normal, but it does happen from time to time. There are lessons to be learned and I will write about them in the next few  posts.